
Courtesy of Cem Niş
Practical tips: how to successfully lute veneers.
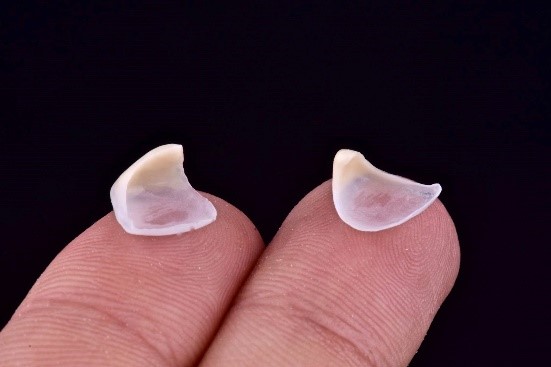
The use of veneers has become increasingly popular in the last decades. With the paradigm of minimally invasive treatments, the demand for thinner restorations also increased. Nowadays, ceramic veneers can be as thin as 0.3 mm. Of course, those veneers can be broken easily before they are bonded to place. The cementation then becomes a delicate process that needs to be completed before the restorations reach their ultimate strength through the tight joint with the underlying tooth tissue.
Tip 1: Evaluate the proper seating and marginal adaptation
- First, verify on the laboratory model. This can be done before the patient is present.
- Next, verify inside the mouth. First, one by one; then all together. Check the proximal contacts and ensure they are not too tight.
- Use a water-soluble try-in paste (e.g. G-CEM Try-in Paste) that is easy to remove
- Use the same shade as the selected cement to verify the aesthetic end result
Tip 2: Choose a resin cement with the optimal thixotropy
The used cement should be easy to dispense and apply and have an optimal viscosity level:
- Cement is too fluid:
- drifting of the restoration after seating can occur
- excess can flow in the interproximal spaces
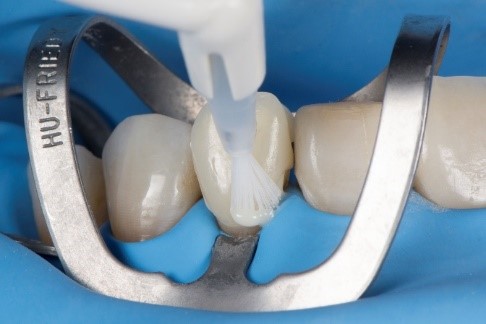
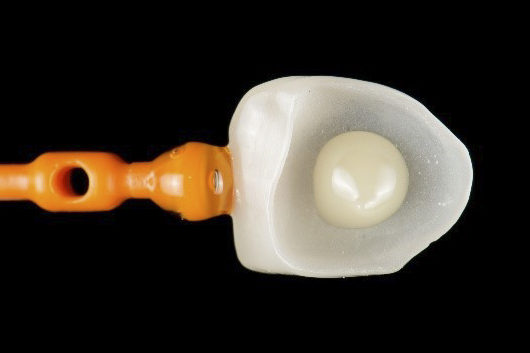
Veneer after seating.
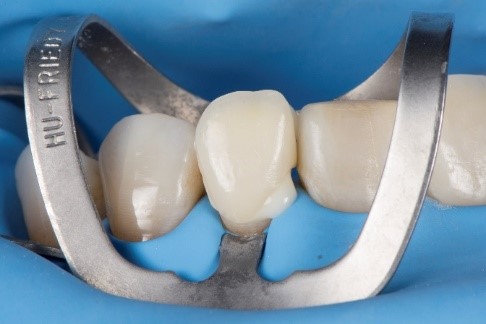
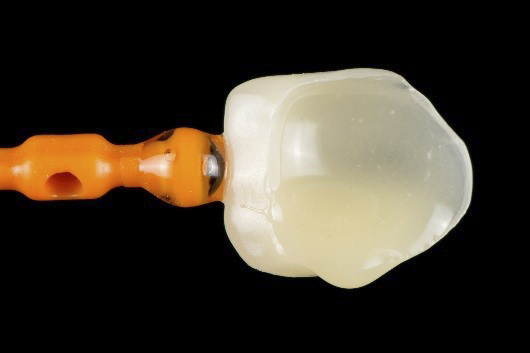
Excess is easily removed.
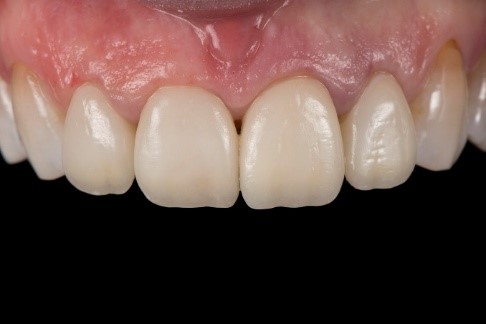
Immediately after placement. The ultrathin cementation line cannot be distinguished.
Courtesy of J. Tapia Guadix, Spain
- Cement is too thick (e.g. pre-heated conventional composite):
- requires more pressure for the seating with increases the risk of fracture
- lack of flow to cover the entire intaglio surface.
- A thixotropic cement (e.g. G-CEM Veneer) offers the best handling to ensure perfect placement and adaptation:
- no oozing from the syringe, slumping or flowing uncontrollably
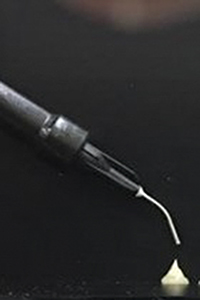
G-CEM Veneer
Conventional light-cure resin cement.
G-CEM Veneer is not sticky and does not ooze from the syringe.
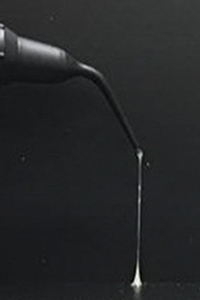
G-CEM Veneer
Conventional light-cure resin cement.
When no pressure is applied, G-CEM Veneer remains in place.
-
- spreads easily over entire surface and can be seated with minimal pressure
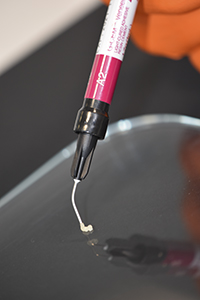
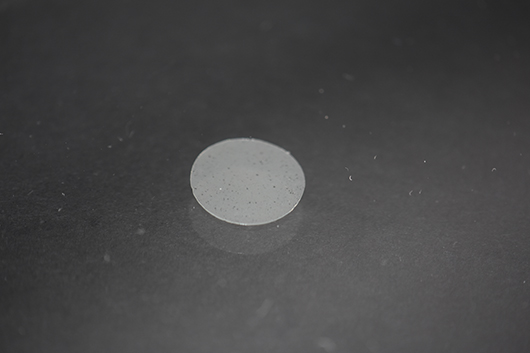
Application of the cement on a flat glass plate, then covered with another glass plate. Cement spreads perfectly under low pressure, achieving a low film thickness.
Tip 3: Choose a cement with sufficient working time
- Thin veneers have the benefit that curing light can penetrate the restoration. Choosing a light-cure cement (e.g. G-CEM Veneer) that does not auto polymerise gives the benefit of a longer working time. The polymerisation can be started on command, when exposed to the curing light.
Curing light can easily pass through thin veneers.
Courtesy of Cem Niş
Tip 4: Know the instructions for use
It sounds logical, but many different materials exist, which can be quite confusing.
- Check how the restorations need to be pre-treated
- Sometimes this is done in the lab: communicate well!
- Respect the recommended timings and pressure if applicable
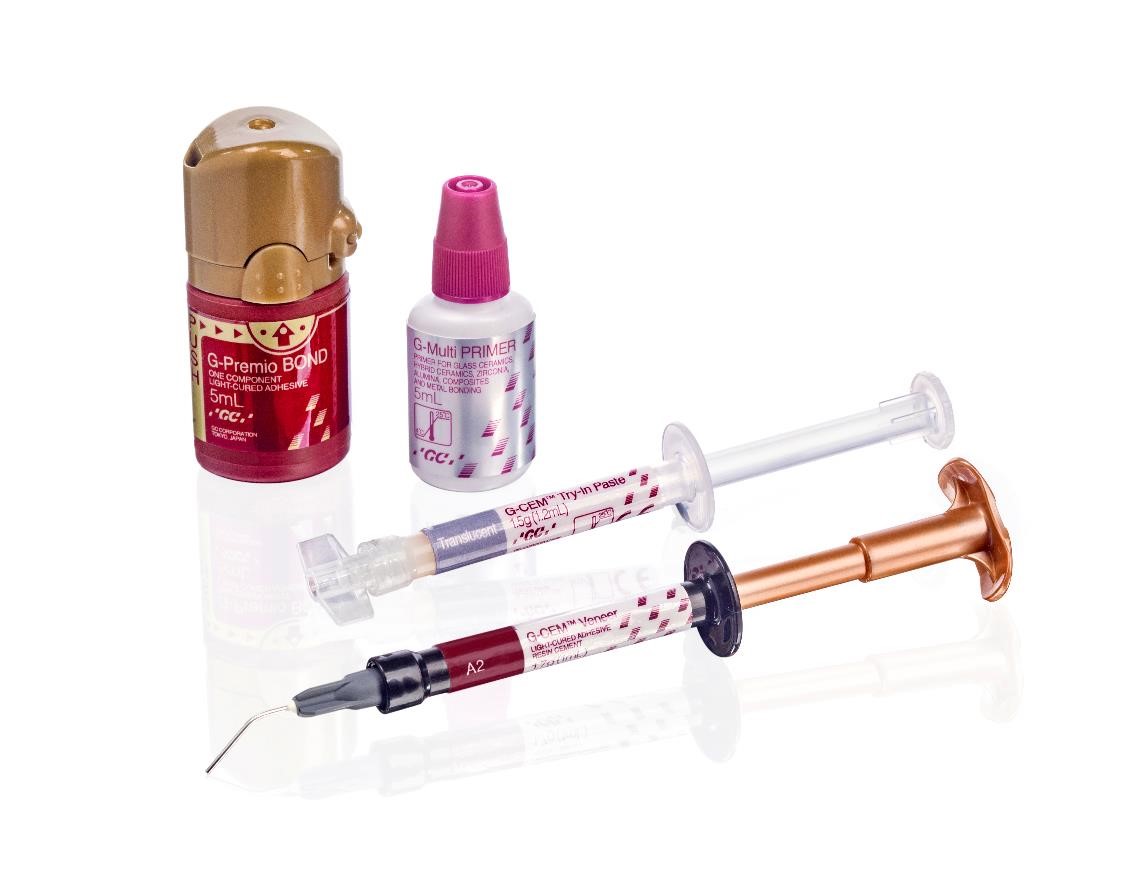
- Use products with an easy, straight-forward application protocol and get familiarised. G-CEM LinkForce and G-CEM Veneer have analogue preparation steps with the same, universal pre-treatment:
- Every preparation: use G-Premio BOND
- Every restoration: pre-treat with G-Multi PRIMER
Tip 5: Ensure that margins are smooth
Smooth margins without porosities are less prone to plaque accumulation and discolouration.
- Glycerine can be applied before the final cementation so that no oxygen inhibition layer is left
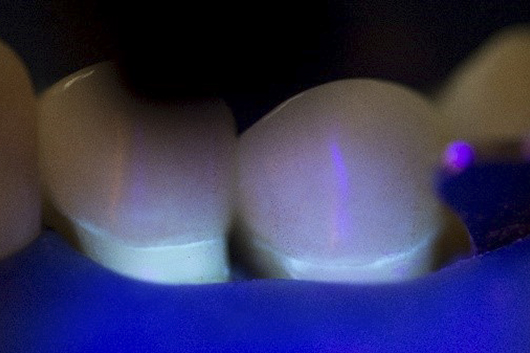
- Verify under near-UV light (D-Light Pro in detection mode) that no remnants of cement are left

Before polishing
After polishing
Courtesy of Stephane Browet
Marginal detection with D-Light Pro. The excess can be seen in a glance.
- Fine polishing can be done with fine silicone tips, brushes and polishing paste.