

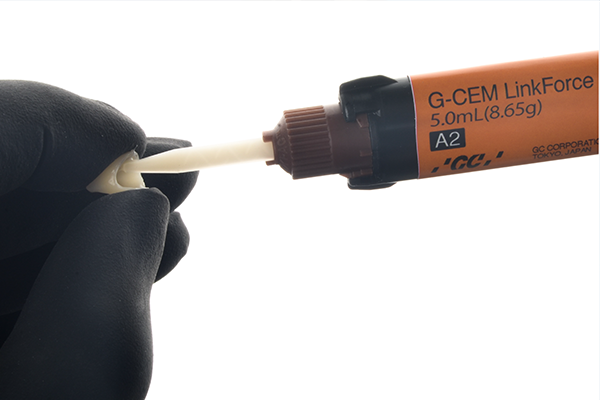
With G-CEM LinkForce you have one solution to fit all your clinical situations; from inlays/onlays to CAD/CAM prosthetics and from zirconia substrates to hybrid ceramics. This universal adhesive resin cement offers predictable results while working a standardized way and this for all your cementation challenges.
Clinical cases
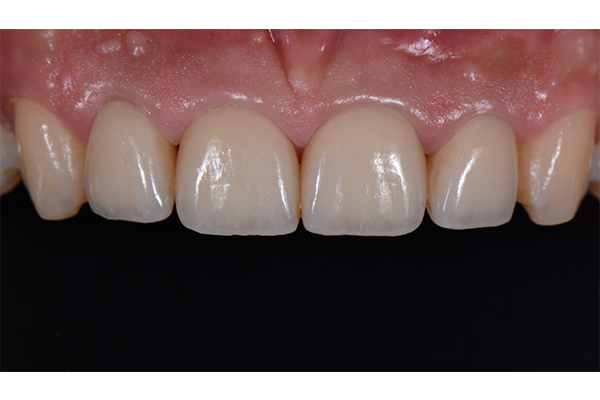
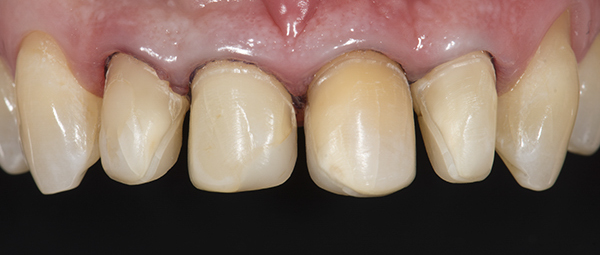
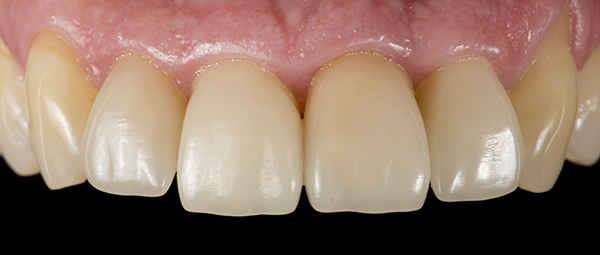
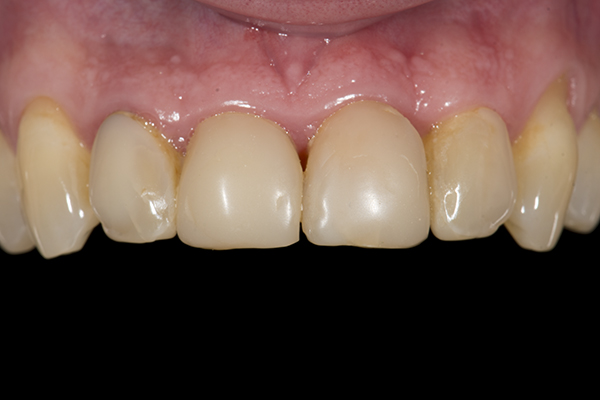
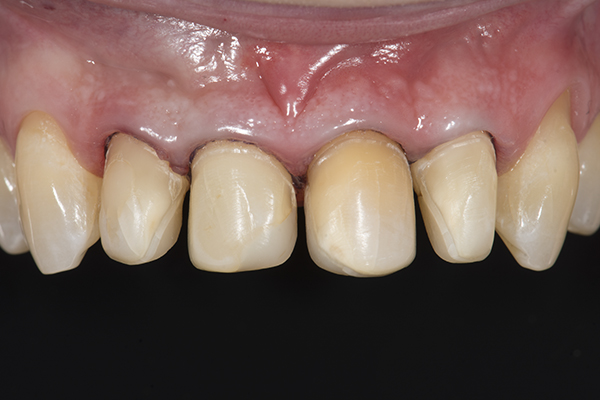
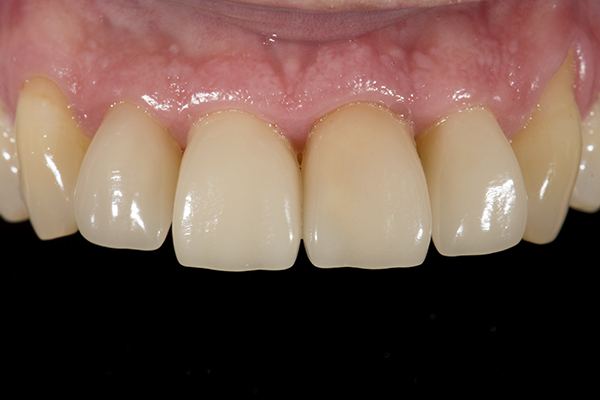
Dr. Jacopo Mattiussi, Italy
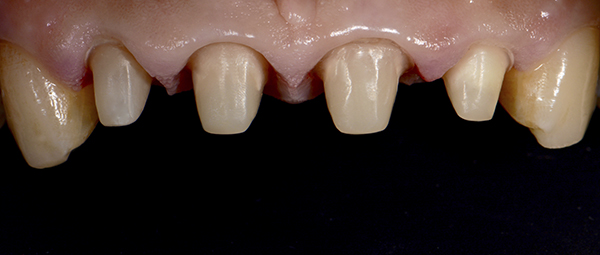
BEFORE
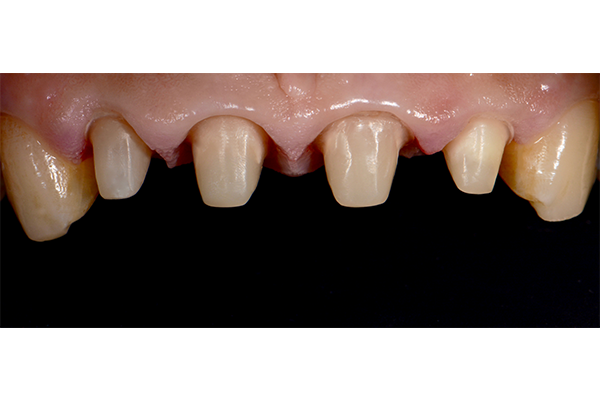
AFTER

View all steps of this case

1. Initial view with opaque restorations and visible margins
2. Removal of the existing restorations
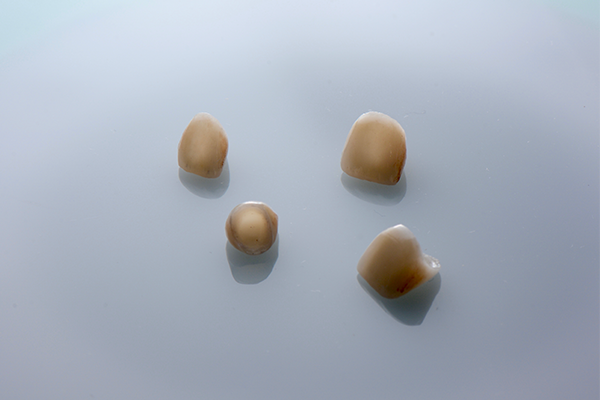
3. Creation of 4 individual crowns with lab technician

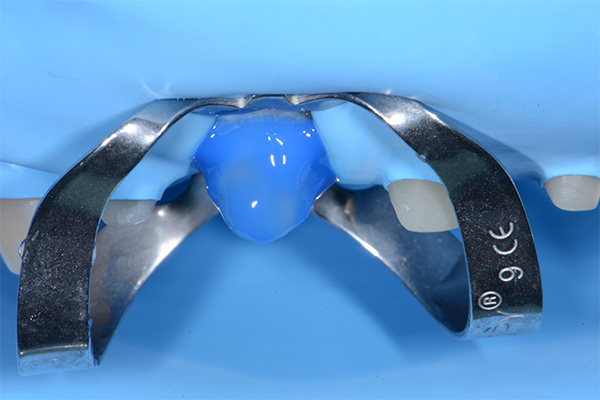
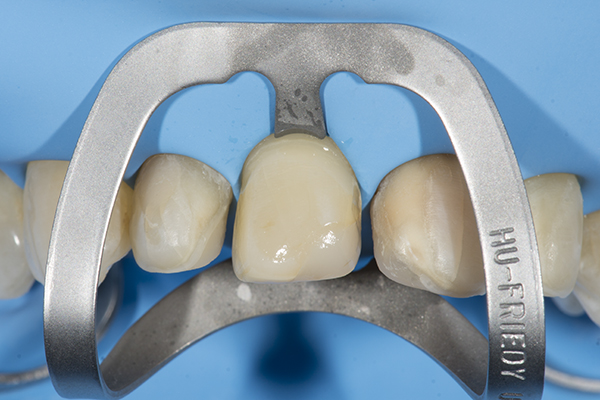
4. Try-in of the final restorations with G-CEM try-in paste
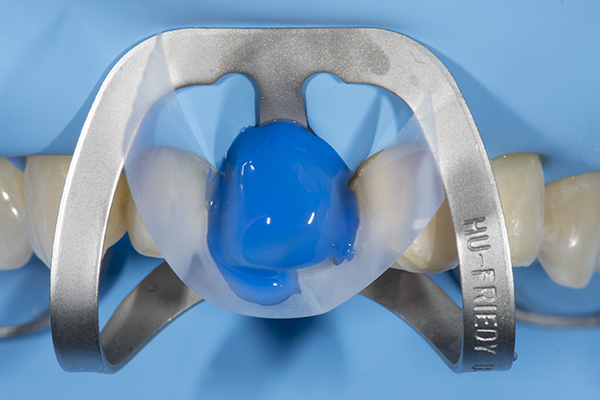
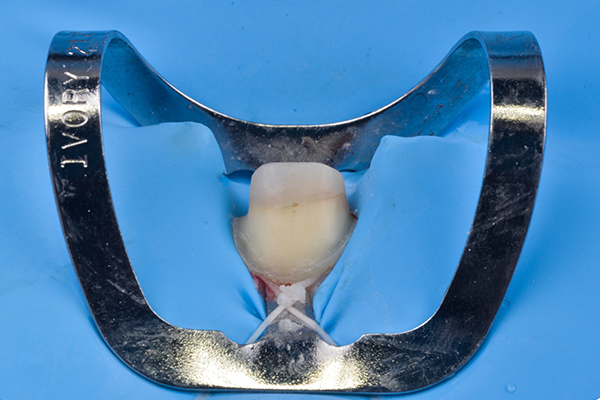
5. Isolation of gingiva

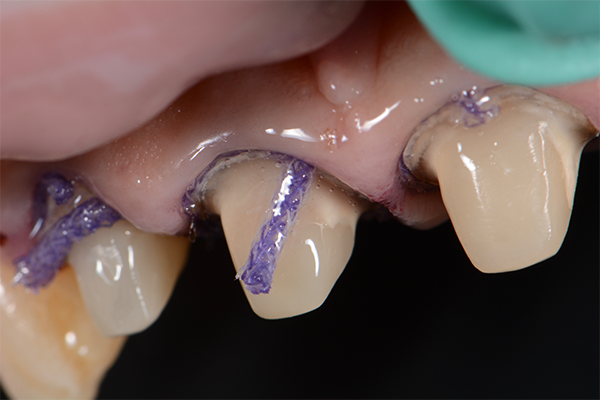
6. Hydrofluoric etching of the restoration and application of G-Multi PRIMER
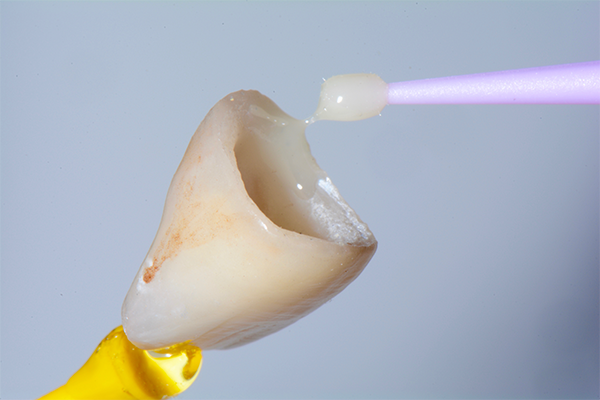
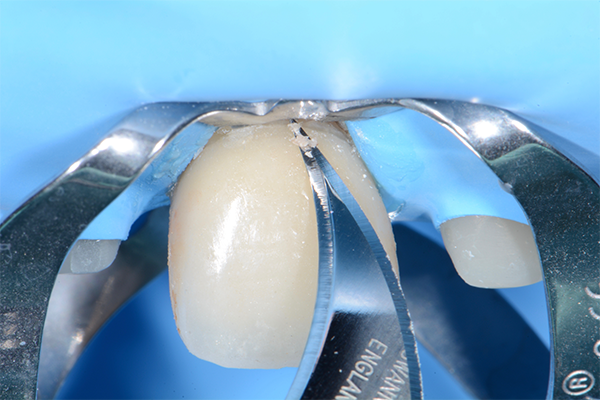
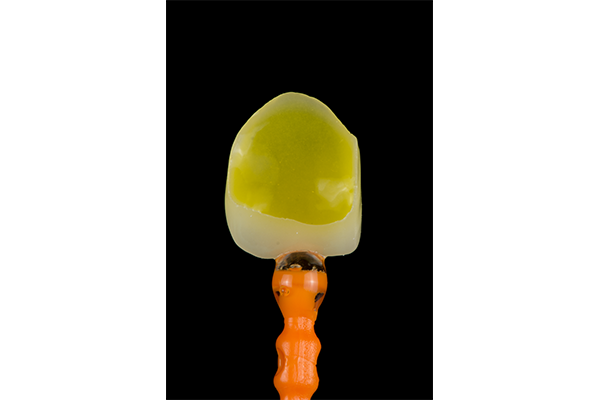
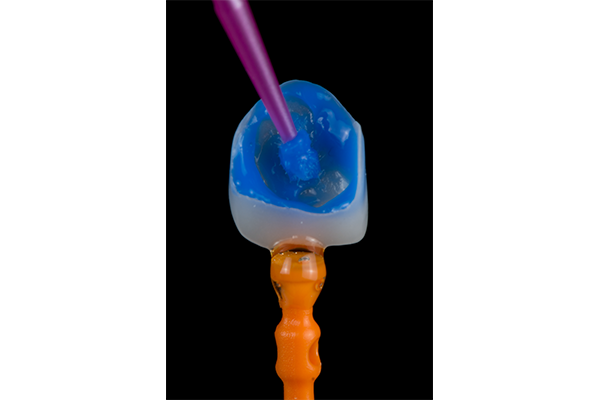
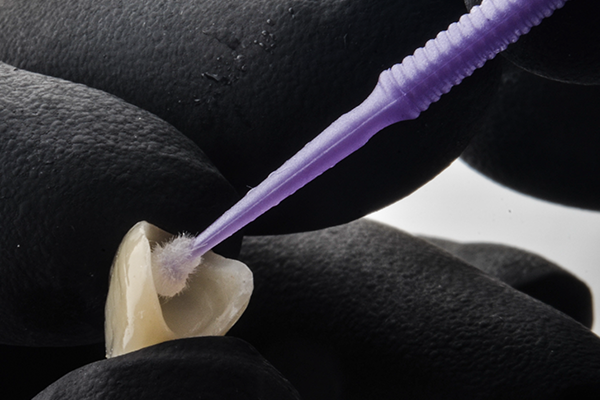
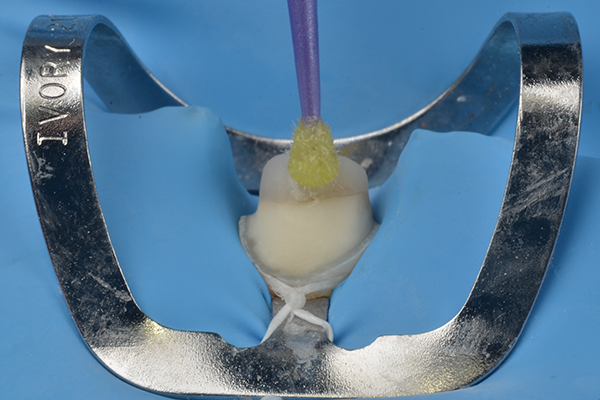
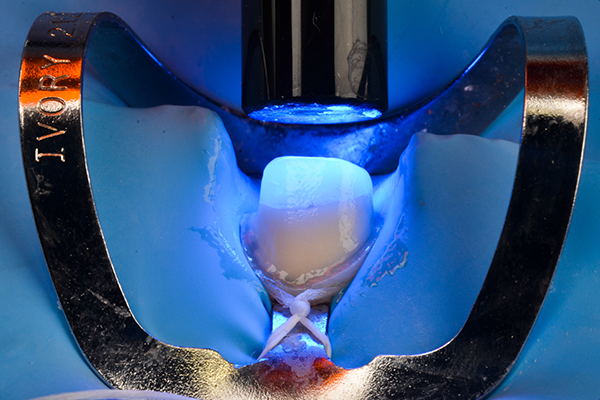
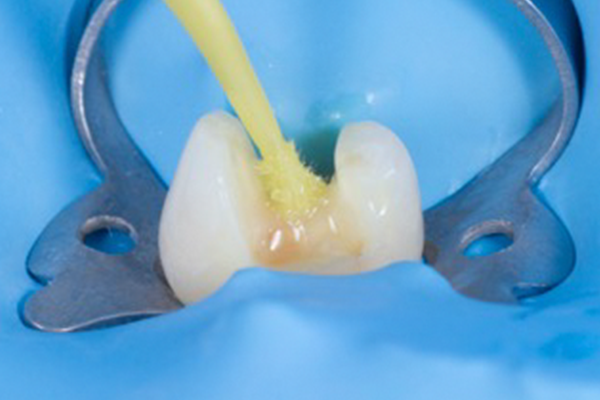
7. Application of G-CEM LinkForce into the restoration and spreading with a micro brush
8. Ortho phosphoric etching of the tooth
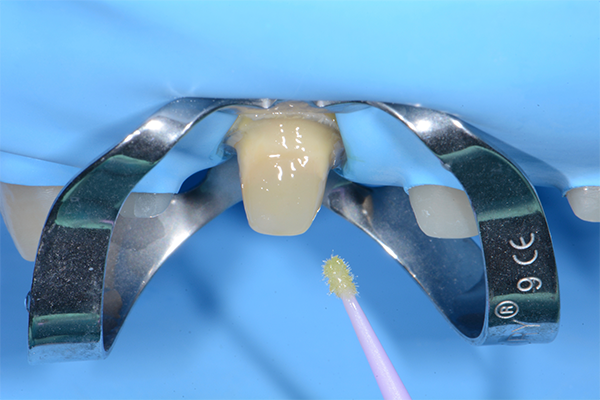
9. Application of G-Premio BOND, max air dry and light-cure
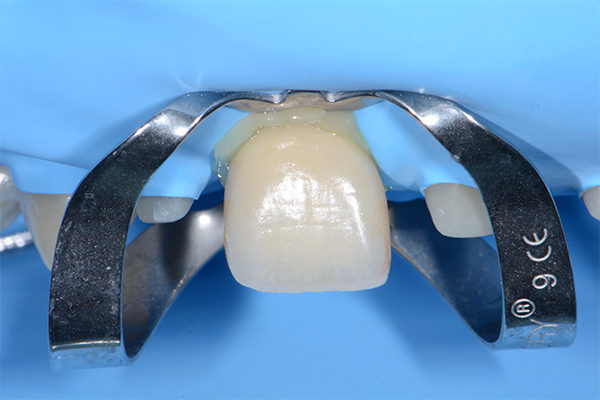
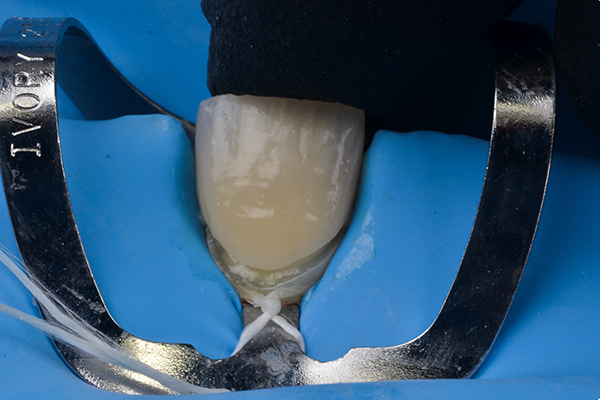
10. Placement of the crown on the tooth
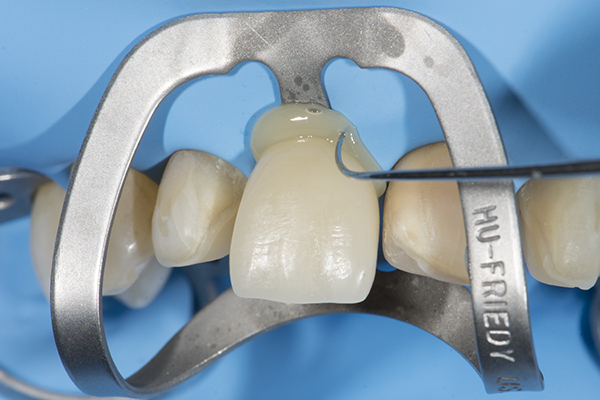
11. Removal of excess with a probe

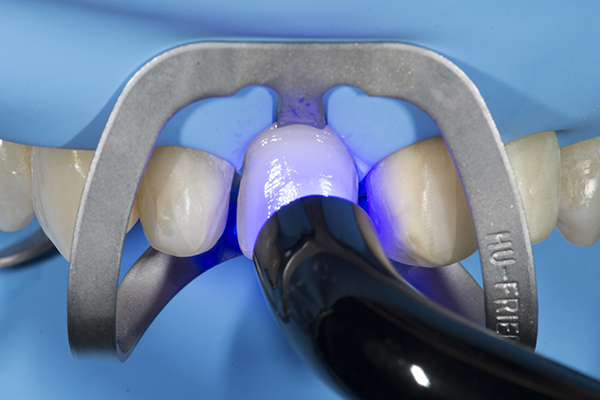
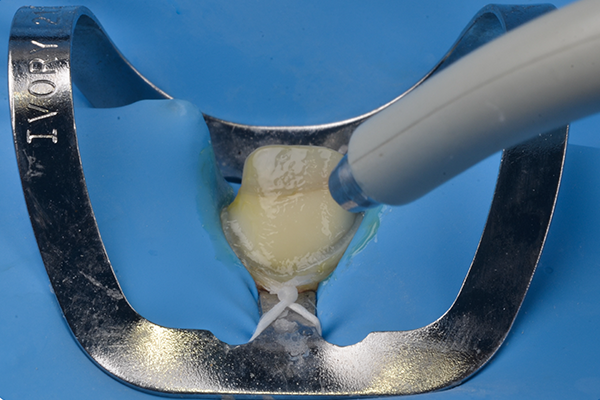
12. Light-cure on each sides
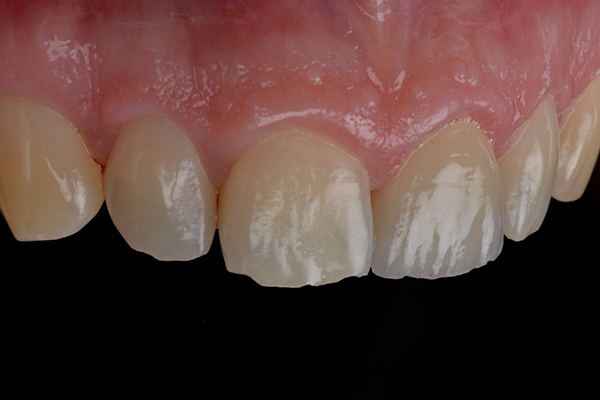
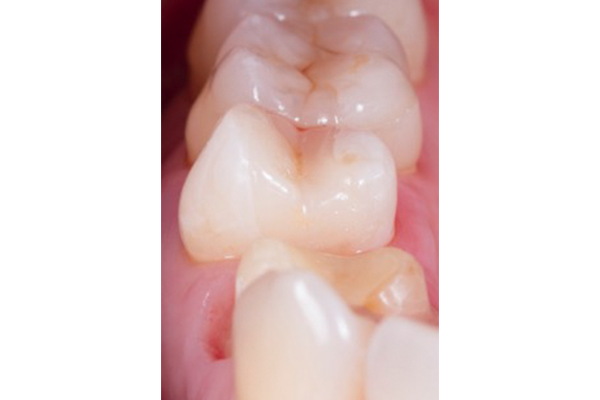
13. Final view
Dr. Javier Tapia Guadix, Spain
BEFORE
AFTER
View all steps of this case
1. Initial view with initial opaque veneers
2. Removal of the existing restorations

3. Creation of 4 individual leucite reinforced feldspathic veneers
4. Ortho phosphoric etching of the tooth

5. Application of G-Premio BOND; air dry 5 sec and light-curing
6. Hydrofluoric etching of the restorations
7. Ortho phosphoric etching of the restorations

8. Application of G-Multi PRIMER
9. Placement of the veneer (after application of cement in the restoration)
10. Removal of excess
11. Light-curing of each sides

12. Final view
13. Final view without rubber dam
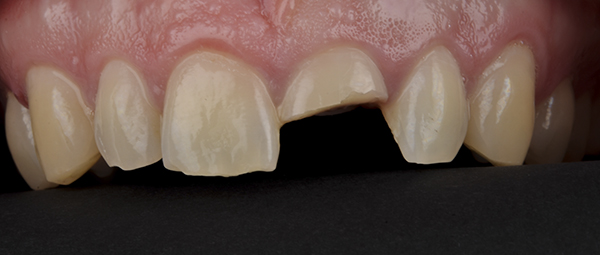
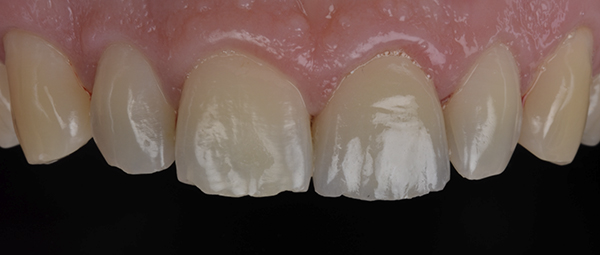
Dr. Antonio Saiz-Pardo, Spain
BEFORE
AFTER
View all steps of this case
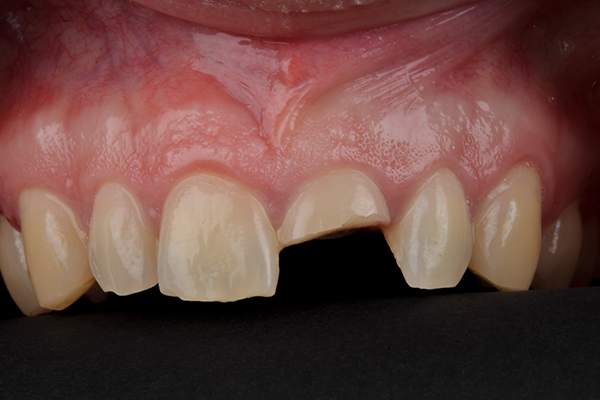
1. Initial view with broken incisal tooth, still vital

2. Core build-up
3. Isolation
4. Application of G-Multi-PRIMER (after etching of restoration)
5. Tooth preparation with ortho phosphoric acid and G-Premio BOND
6. Max air dry for 5 sec
7. Light-curing
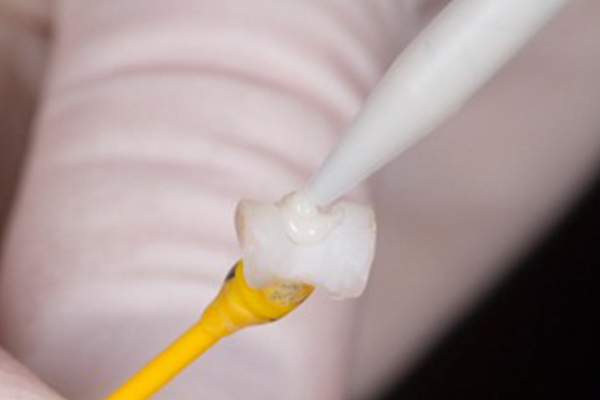
8. Application of G-CEM LinkForce into the crown
9. Placement of the restoration
10. Final view
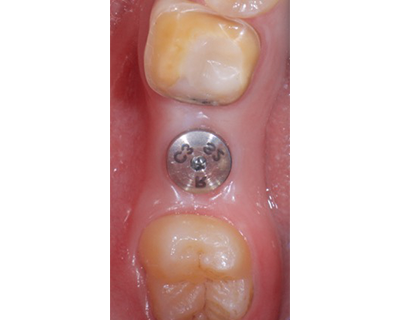
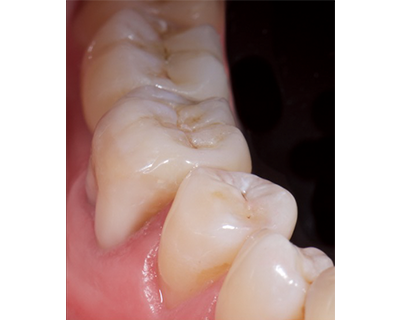
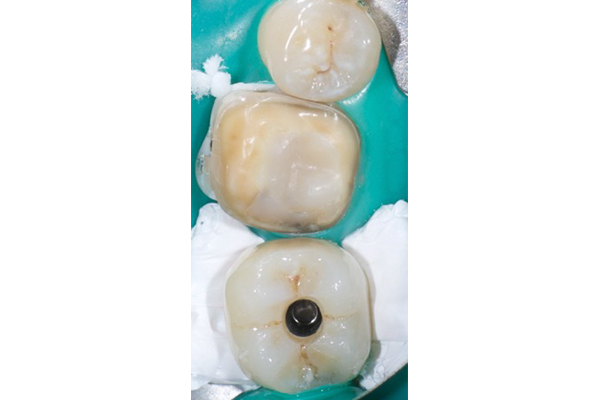
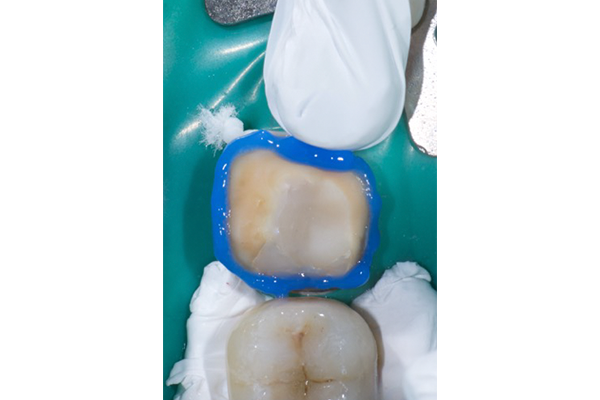
Dr. Rafał Mędzin, Poland
BEFORE
AFTER
View all steps of this case
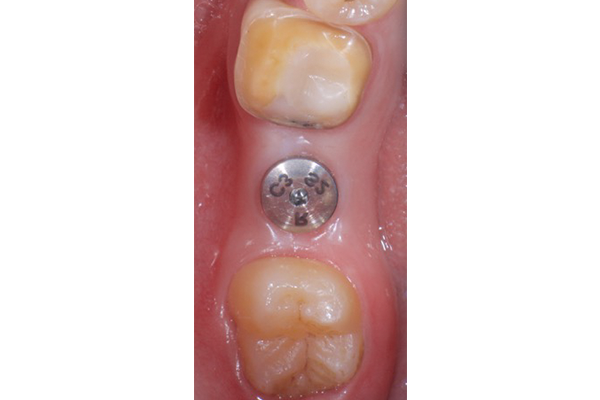
1. Initial view of implant and tooth

2. Crown and inlay
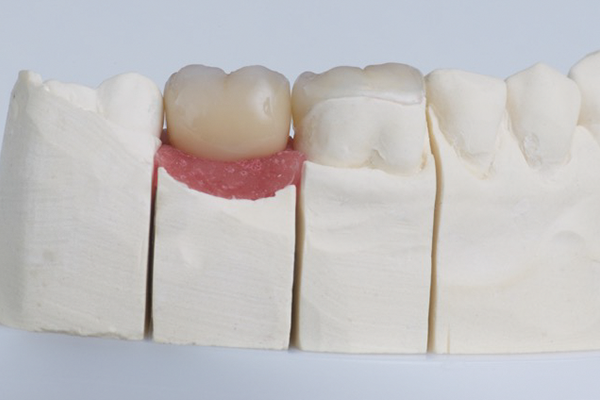
3. View on gypsum

4. Application of G-Multi PRIMER (after etching of the crown)
5. Isolation and try-in of the implant crown
6. Selective etching of the tooth

7. Application of G-Premio BOND (air dry and light-cure the bonding)

8. Application of the cement into the restoration with endo tip to reach deeper cavities

9. Placement of the restoration

10. Final view after excess removal and light-curing

11. Final view
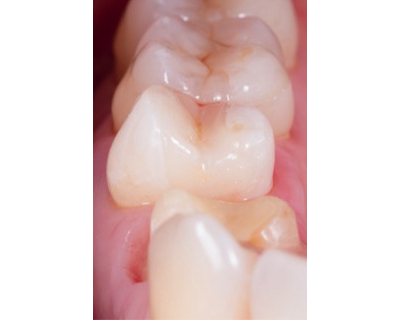
Dr. Olivier Etienne, France
BEFORE

AFTER
View all steps of this case
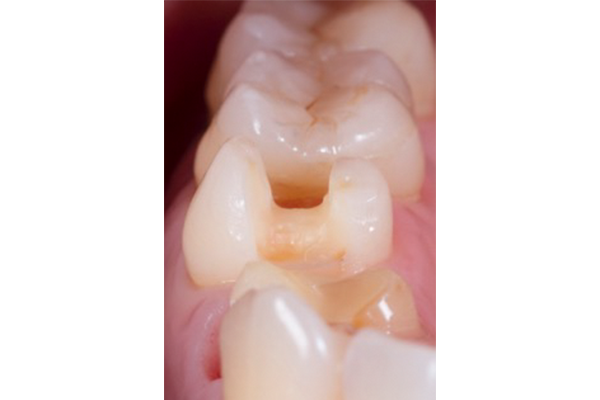
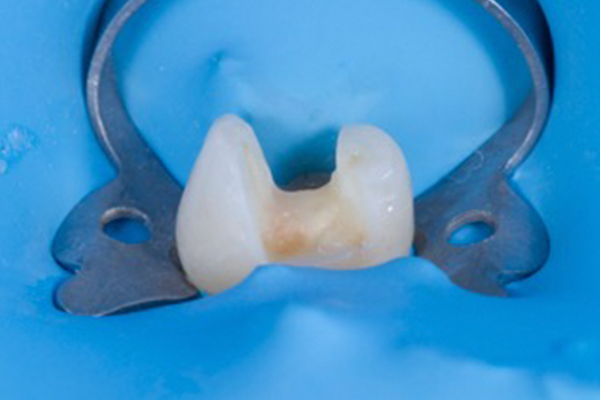
1. Initial view after preparation of the tooth for onlay cementation
2. Isolation of the tooth
3. Hydrofluoric acid etching
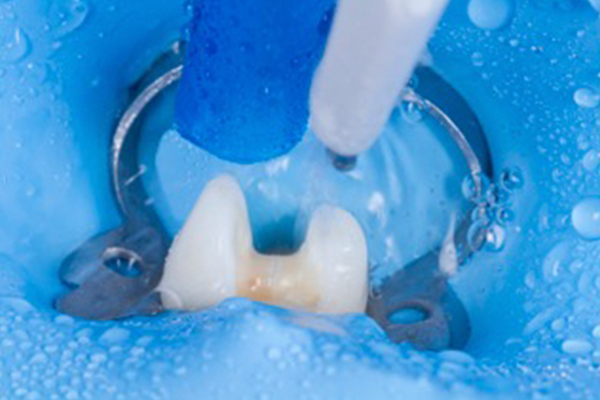
4. Rinsing of the tooth
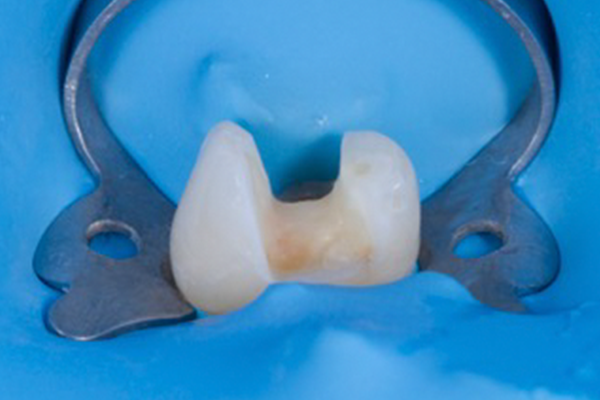
5. Cleaned preparation
6. Application of G-Premio BOND

7. Air dry and light-curing of the bonding
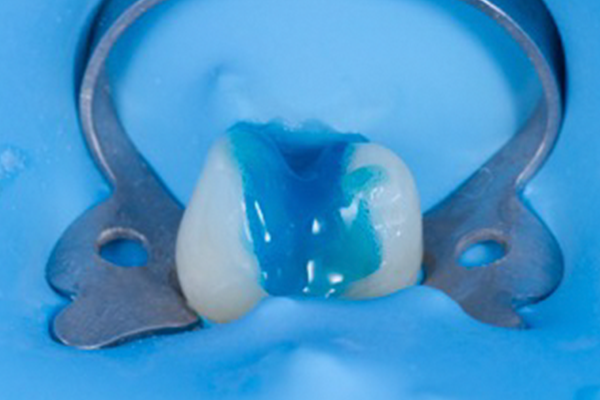
8. Application of cement (after application of the primer on restoration)

9. Placement of the restoration

10. Light-curing of the cement
11. Final post-operative view
The potential of aesthetic bonded restorations is not only determined by the restoration itself, but also in the connection with the tooth tissue. Taking the most out of the advantages of G-CEM LinkForce, the strong adhesion and long-lasting margins contribute to a durable end result.